DIY Painted Paneling
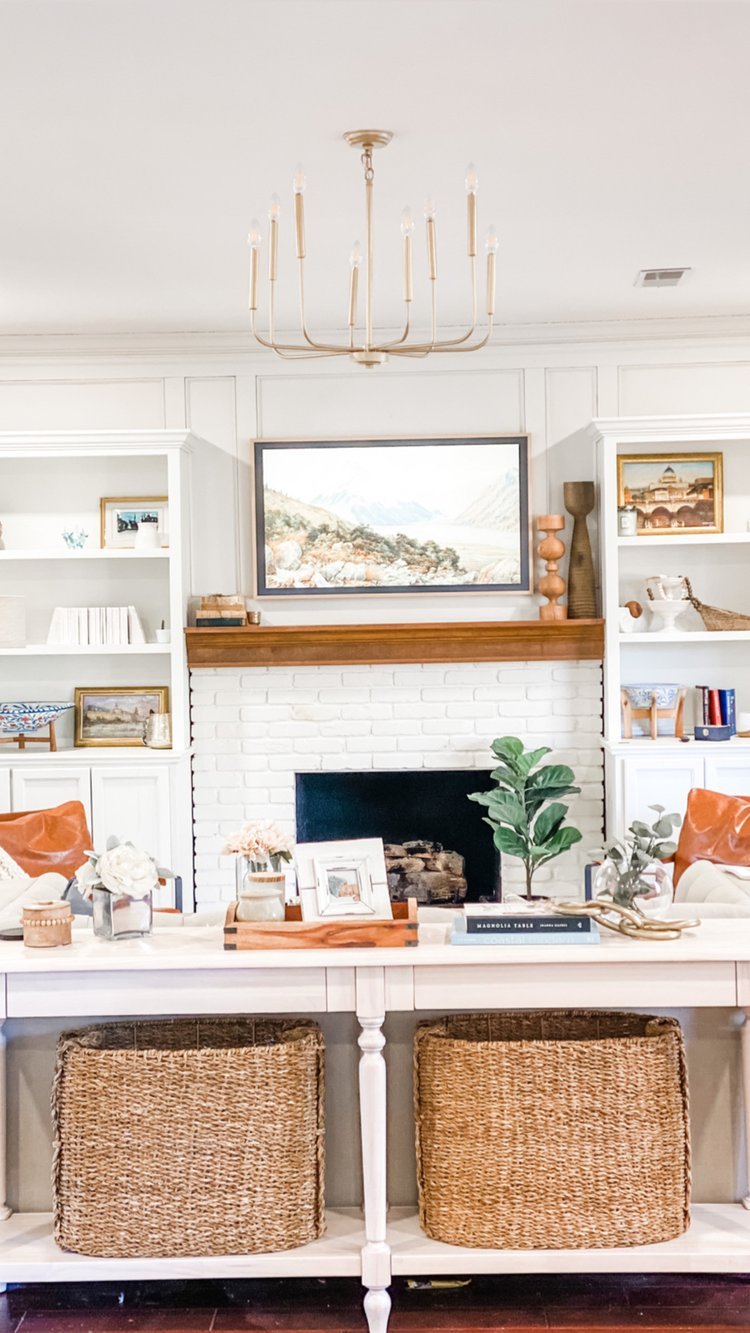
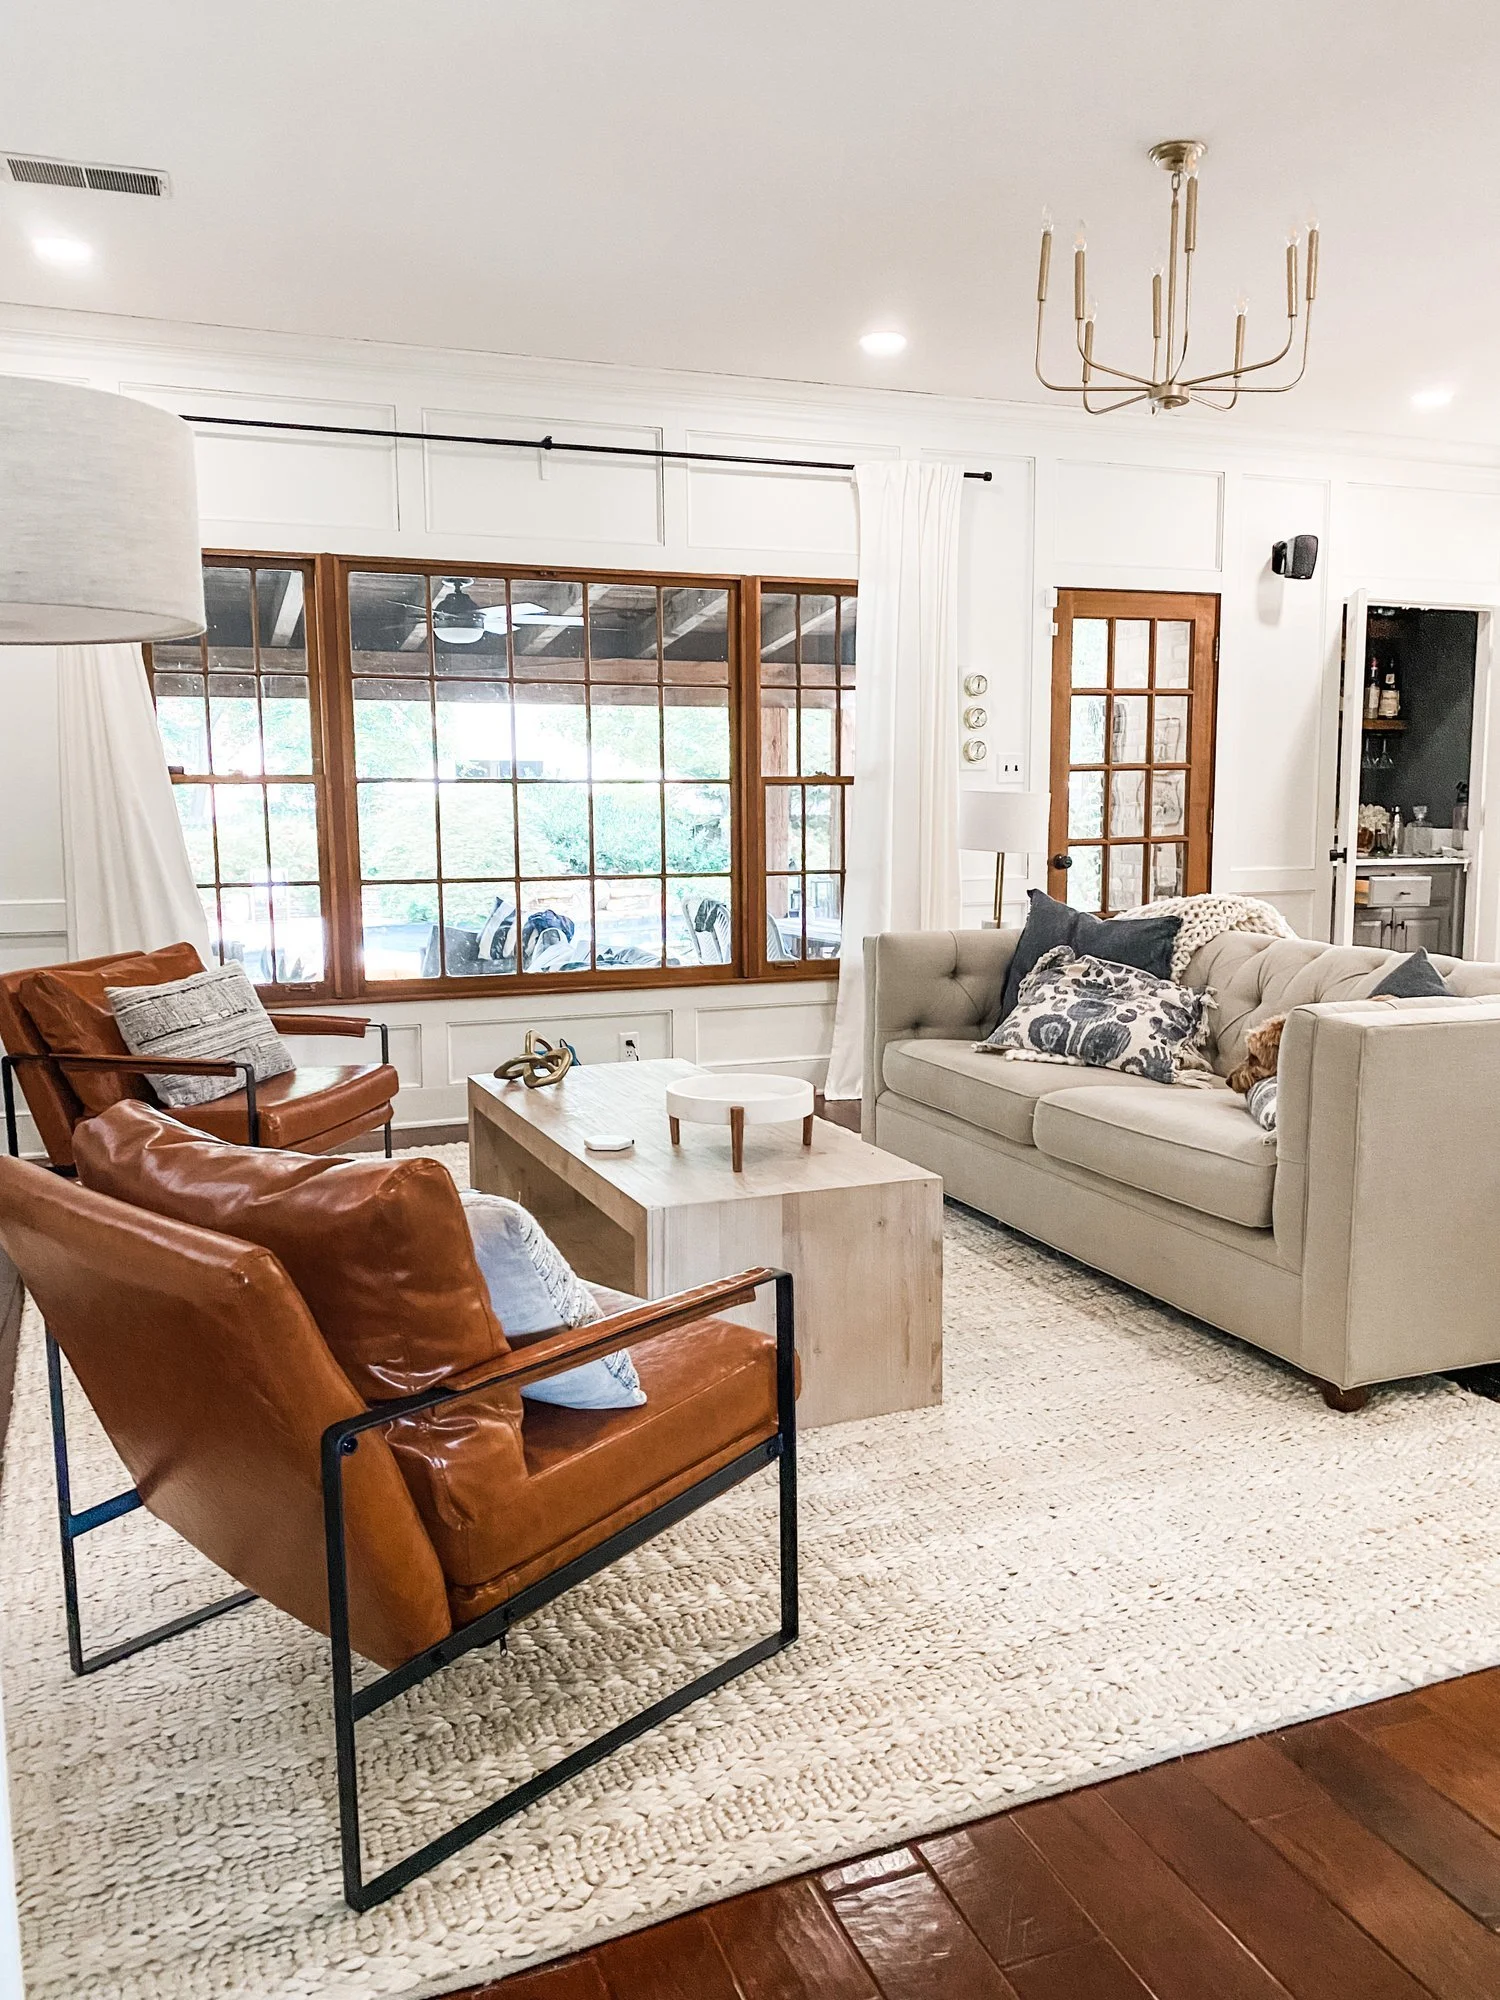
If you’ve been following along on TikTok, my latest feature project is painting the paneling (and bookshelves) in my living room! So many people told me not to do it. I wanted to love it. I just couldn’t. There were about 3-4 different wood tones in this room I simply could not handle it! ;) Let me say though I have not looked back once since painting it and I would do it a million times over. Here’s a quick reminder of the before and after of this space.
It may look like a lot of work - but the good news is I found a way to do without sanding, saving literal hours (maybe days) and tons of dust! My paneling was super high gloss, varnished and I am so thankful for the person at the Sherwin Williams paint store who told me, “No mam, you don’t have to sand - just use this!” You sir, are a savior.
Let me introduce you to Sherwin Williams Extreme Bond Primer. Just roll it on with a small low-medium nap roller and use a paint brush to get the corners. (Typically, I do the corners first then use the roller to smooth out the brush marks). I then let it cure about 24 hours before painting, though it does dry quick so you’ll have to work in small sections to not leave any brush marks. I did not get this primer tinted a color, though you can if you’d like. I did one coat of this primer - that’s it! Here is what it looked like after one coat. Going on it creates a sand-like texture.
Next up, we are just a paint, paint, painting. I chose SW SuperPaint because it claimed to be both a paint and primer in one. And it did not disappoint. Remember, I am painting DARK wood WHITE. Could be a nightmare. My painting advice always is: DO NOT BUY CHEAP PAINT. Cheap paint just makes your job harder (and it makes a bigger mess). Trust me on this.
The color I chose was SW Alabaster in Satin finish and the dry time was pretty quick. I did one coat in one day and the second the next day. That’s it! Again, I used my same technique with a small roller and paint brush for the corners. I also caulked the ceiling to help fill the gaps. Now, if I had a paint sprayer, it would have been way easier - but I don’t so I just rolled it on and it worked totally fine! I also felt very in control of rolling on the coverage and not making a mess.
I am so happy to say that about 14 months later, this paint is holding up beautifully and I just use a Mr. Clean Magic eraser to clean spots here and there and it’s no fuss at all and still looks as good as the day I painted.
If you are thinking of painting your paneling, go for it. Your room will feel taller, brighter and just overall happier! If you have any questions, please let me know and I will do my best to help answer them.
xo and happy painting,
Jackie


